Showing posts with label Eyeshadow. Show all posts

Monday, 3 September 2012

Mini Haul!


Hey everyone! I have been doing a little bit of shopping so I thought I would share my purchases with you. I don't know if I have mentioned it recently, but in just under two weeks time I am heading back to Uni for my final year, and so, moving into a new flat with my boyfriend. I wanted to get some scented candles especially, so I picked some up from yankeedirect.com. I thought while I was making an order I may as well get one of my all time faves from Yankee Candle, a large Christmas Cookie to burn over the festive period (I like to be prepared!). Christmas Cookie is a rich, buttery, vanilla scent that I abso adoree. I also picked up French Vanilla in a large jar, similar to Christmas Cookie but not so much of a buttery vanilla to burn until I can grab my beloved Christmas Cookie (It just feels wrong burning it at any other time of year!). I also got a sample of Mango Peach Salsa, a scent I had been wanting to try for ages but didn't want to fork out for the full price before seeing if I would like it. (Turns out it smells soo yummy, so I have already ordered the large size, aswell as a couple of others which I will haul once they have arrived!) 

I love buying jewellery from Ebay, I think its a great way of getting current styles for a super cheap price. I got this double finger cross ring in gold for £1.29 with free p&p from China, and it arrived really quickly. I believe this style ring is in Topshop's current season for more than triple the price so this is a real steal.The rings are adjustable so suitable for anyone too :)

 Whilst in Superdrug, I picked up this MUA eyeshadow in the shade 'Pearl'. Its gorgeous shimmery, creamy gold toned colour caught my eye instantly, plus it was only a pound! This shade reminds me a lot of my Nars cream eyeshadow in 'Mousson' although is prehaps more gold toned whereas Mousson leans more towards the silver side. 

I also got a couple of Tresemme Volume and Lift products. The first is the Touchable Finish hairspray which is meant to add volume to the hair without being sticky whilst also fighting frizz. As always, these come in the huuge bottles and my first impression is that I really like it. The smell isn't over powering and it seems to hold well without giving that 'stiff' look to the hair. The other product I got is the Volume and Lift mousse, which is suppose to give texture and volume to the hair. I bought this to compare it against my Aussie Texturising Spray which I lovee. I definitely prefer the spray application, but I do find that mousse works well to give that extra lift. I will let you know what I think of this one!

So that is my little haul! I will be sure to share my Yankee purchases when they arrive aswell as a few other little bits I have been buying! Have you bought anything you have really liked recently?

Monday, 13 August 2012

Acrylic Storage!


Hey everyone! Hope you are well! For ages now I have been lusting after the 'perfect' makeup storage and have gone from it being stored in my dressing table, to buying a 'tall boy' mirror chest of drawers, using empty Glossybox's and even diy-ing my own. All of these didn't quiite work for me and I would end up just keeping my daily products out on my dressing table and the rest would be hidden away and never used. I have forever been eyeing up the Kardashian clear cube, but as it is pretty expensive, I wanted to find something a bit more affordable. I have seen the Muji acrylic storage on many blogs before, so after some research (and worrying it wouldn't fit all my makeup) I made the splurge. I ended up getting three sets of the stack-able drawers; two of the 2 drawers- wide and one of the 2 drawers- wide with flip lid, so in total I had 6 drawers, costing around £40 inc p&p. They arrived within a few days and I was super excited to get it all set up. I absolutely LOVE the way my makeup looks in the clear drawers, and how easy it is to get what I need BUT, as I had previously thought, they definitely didn't fit all my makeup, and as the drawers are fairly thin, they were spilling over prettyy quickly. So, I decided what I would do is keep my most used makeup in the acrylic drawers and keep the rest in my tall boy chest, switching it around every now and then. This way, I will get use out of a lot more of my makeup than before, and can sit at my dressing table and easily grab what I need.

The only downside of the Muji drawers is that not all of my foundation bottles will fit, as like I said, the drawers are quite thin. Rimmel Wake Me Up fits perfectly, but Mac Face and Body and my beloved Clinique Superbalanced don't, which is a little annoying. I will definitely be picking up something else to store these in soon, but for now, their home is my diy acrylic storage which I did a post on a little while ago. (You can see that here)

I'm not a big fan of storing my lipsticks lying down, and I have been searching for the perfect lipstick holder for a while with no luck. I had an Amazon voucher that needed spending so I picked up an acrylic nail polish stand, which I had intended on storing some of my nail polish on, but, when setting it up, I realised it would make a lovely temporary place to store my lipsticks! The nail polish rack was delivered super quicker and only cost just under £10 inc p&p. (Here's the link to the nail polish stand) Obviously, this also has limited storage, so I decided to do the same thing as with the Muji drawers and keep my most used lipsticks out on the rack so they are easy to grab, and again switch them up every now and then to get use out of the others that will be put out of sight. 

I am so happy with how these have turned out! So much so that I have already ordered another set of the Muji drawers for extra storage, aswell as an acrylic pot to hold my eyeliners and another nail polish rack!

What do you think of acrylic storage? How do you store your makeup?


Friday, 6 July 2012

Natural Collection Eyeshadows


// Asteroid //
 // Barley //


Natural Collection is a brand I had heard of but had never picked anything up for them before. Whilst in Boots, I saw they had some single eyeshadows which looked really nice for £1.70, so I began swatching and was really suprised at how lovely they looked on the skin. They had a 3 for £5 offer on, so I picked up a few and decided to give them a try.

My two favourites from the ones I picked up are 'Barley' and 'Asteroid'. Barley is a skin toned gold colour with lots of shimmer, which when applied gives a gorgeous hint of shimmer to the skin and works lovely as a base colour. Asteroid is a dark brown with flecks of gold shimmer running through it, which I have been using to deepen the outer corner of my eyes. For £1.70 each these eyeshadows are both affordable and good quality and work great for a subtle smokey eye. 


FYI:
 I also noticed that these are the same size as Mac eyeshadows and when depotted fit into the Mac palettes perfectly!

 I would love to know if you have tried these eyeshadows and what you thought. I would be interested in seeing if they had any matte colours in the collection!


Monday, 2 July 2012

Monthly Roundup: June!

Can you believe that June is over already, and that we are now over half way through the year!? June has been a pretty good month for me (besides the awful weather we have been having!) and I wanted to share some of my favourites from the month with you!


Garnier Summerbody// Aussie Volume Shampoo, Miracle Hair Insurance, Dual Personality Heat Protection// Revlon Lipbutters Lollipop, Sweet Tart, Strawberry Shortcake// ELF Nail Polish Mint Cream// Mac Scene Eyeshadow// DIY Studs// Simple Eye Makeup Remover

What did you love during June?


Tuesday, 26 June 2012

Look Of The Day: Mac Scene Eyeshadow

A few posts ago I spoke about my 'Scene' eyeshadow purchase from Mac, and said that I was going to post a look wearing it. Well, here it is!

As I mentioned in my previous post about this eyeshadow, I bought it as I was getting into a routine of always using brown eyeshadows, and wanted to mix it up a bit. 
'Scene' is a blue toned grey, which I usually stay away from as I have blue eyes, but I warmed it up a little by blending Mac's 'Cork' out along the crease. 


Face
Clinique Superbalanced Makeup '36 Beige Chiffon'
Collection 2000 Lasting Perfecting Concealer 'Medium' (Under eyes)
Mac Studio Finish Concealer 'NC30' (Blemishes)
Rimmel Stay Matte Powder '001 Transparent'
Famous by Sue Moxley Bronzer 'Tahiti'
Mac Blush 'Harmony' (Contour)
Nars Blush 'Deep Throat'

Brows
HD Brows Palette Bombshell 'Medium Blonde'

Eyes
Maybelline Color Tattoo 'Permanent Taupe'
No.7 Eyeshadow Palette (Skin toned colour, inner third)
Mac eyeshadow 'Scene' (Outer corner and through crease)
Mac eyeshadow 'Cork' (Blended out through crease)
ELF Eyeliner 'Pearl White' (Tear duct) 
Bourjois Volumizer Mascara

Lips
No.7 Lip Pencil 'Nude'
Mac 'Angel' Lipstick


I really like this look, I think adding 'Cork' through the crease takes the harshness away from the blue toned eyeshadows, making it wearable for me.

What eyeshadow looks have you been going for recently?
x

Friday, 22 June 2012

Review: Mac Scene Eyeshadow

I usually always go for a brown or gold eyeshadow on my lid because as I have blue eyes, I find that this is what suits me best. Recently I have really been getting into taupe's, silvers and grey's, and find that done in the right way, can create a more dramatic and intense look than with a brown. 

I was having a browse on the Mac website and came across Scene, a muted blue/grey toned colour. I think this will work lovely as part of a soft smokey eye bringing it into the crease, but won't be as harsh as using a black. 
As all Mac eyeshadow's are, this is nicely pigmented but easy to work with and blendable.

 Left- Blended Out    Right- Swatch

I definitely think as an all over lid colour, this wouldn't work for my eyes, but for a subtle hint in the crease or along the lash line, it will work nicely. I am planning on using this blended out with a little bit of Mac's Cork on the brush, to warm up the eye a little. 

Have you discovered any new eyeshadow's recently? Do you have a favourite from Mac or another brand?
x

Wednesday, 20 June 2012

Bronze Smokey Eye

The classic bronze smokey eye is my 'go to' night makeup look. I have fairly small eyes so I try and stay away from lots of black as it can make them look even smaller, so I try and use a mixture of golds and browns to compliment my blue eyes and really make the colour pop. So, here's how I do it! Prepare for a lot of photo's!

To start, I use Elf's cream eyeshadow in 'Bronze' as a base all over my eye lid, this will give the colours applied on top a real pop.

I then apply a skin tones colour from a No.7 palette all over the eye lid up to the brow bone.

I take a shimmering nude, champagne colour and place it on the inner third of my eye. 

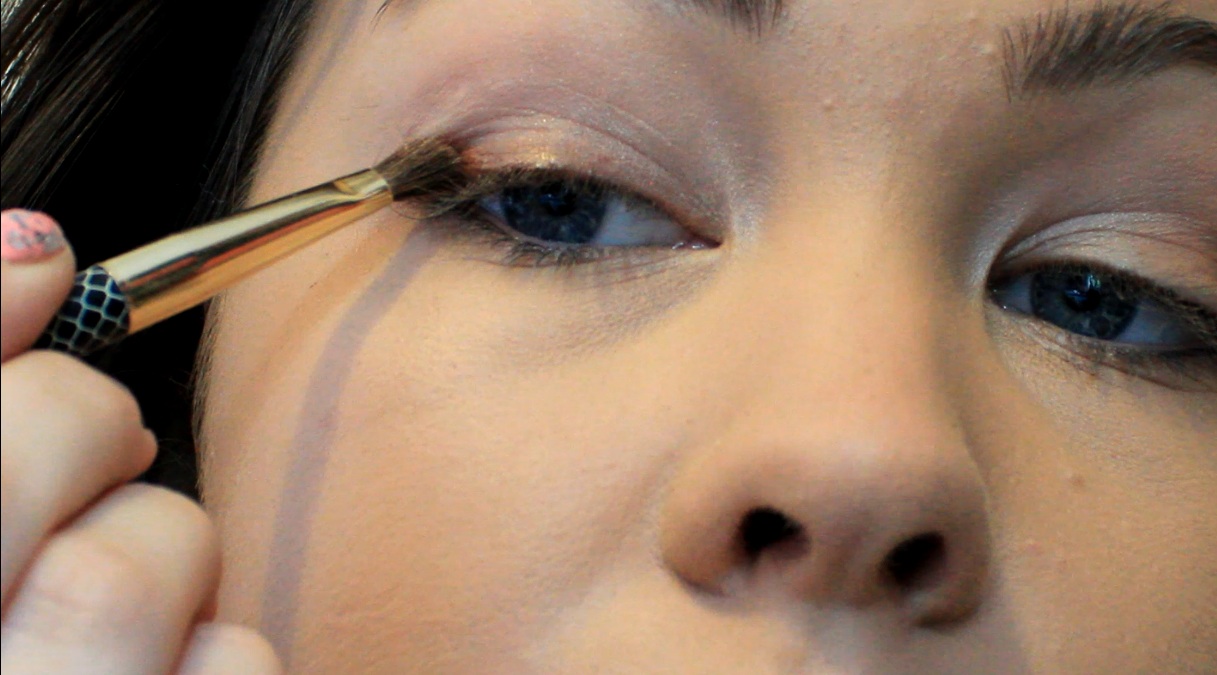
I then apply 'Woodwinked' by Mac from the mid to outer eye lid, from lash line and up into the crease and blend it out with a fluffy brush to get rid of any harsh lines. I also take 'Woodwinked' mixed with a bit of 'Cork' under the eye using a small pointed brush.

I take a white pencil from Elf and put it under my brow bone to highlight, smudging it out with a Frontcover pointer brush. I also highlight the tear duct and inner corners of my eye using this liner. This will make my small eyes appear bigger.

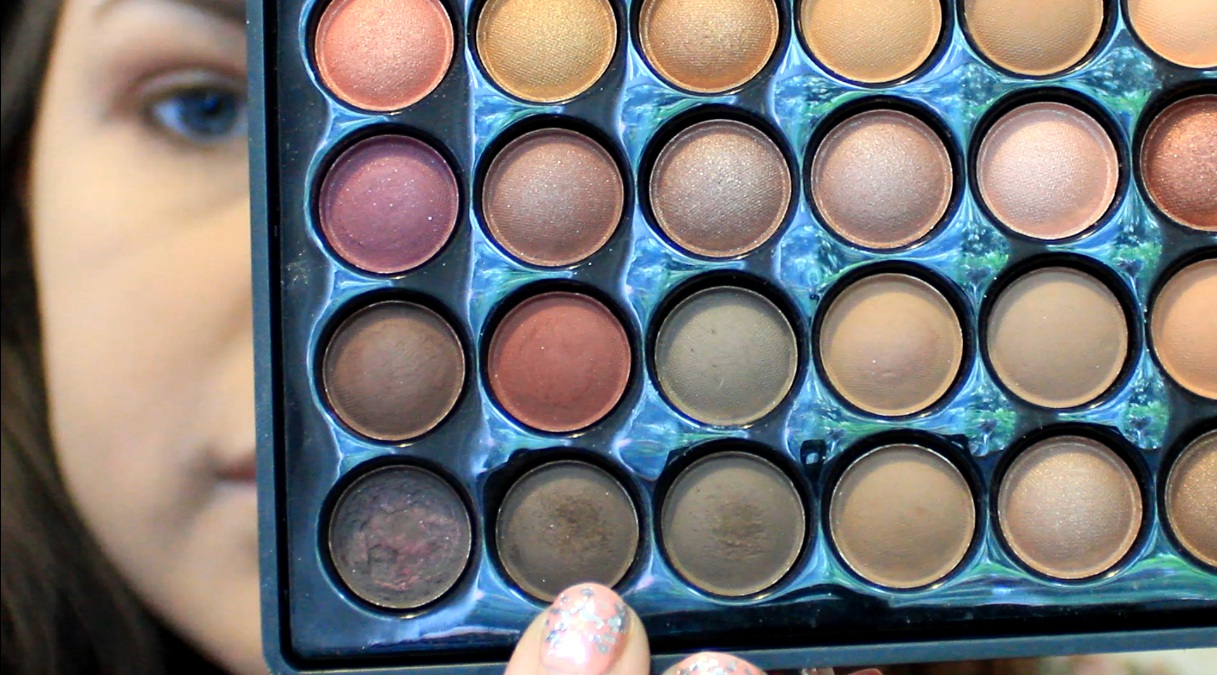
I then use a matte dark brown colour from my Blush Cosmetics 88 palette and apply it to the outer corner of my eye to deepen the colour and add to the smokey effect.

Using a small angled brush and a black eyeshadow, I line two thirds of my upper lash line, blending the product up as I reach the outer corner. 

I then take my Mac 239 and blend to make sure all the shadows blend into one another.

 Using a brown eyeliner, I fill in the outer corner of my water line, going down into the lash line and making sure it blends into one another and up into the flick.

I then add some mascara. I'm using Maybelline The Falsies Volum' Express Waterproof, as this doesn't smudge and will last all night.

 I warm up my cheek bones and temples using Bourjois Chocolate Powder Bronzer and Real Techniques Blush Brush.

 On the lips I use No.7 Lip Liner In 'Nude' and L'oreal Rouge Caresse Lipstick in 'Lovely Rose'. As the eyes are quite bold, I want to keep the lips fairly nude.

 And here's the finished look! I hope you like it! It's perfect for summer nights or even day time, as using brown instead of black makes it a lot less harsh!


 Let me know what you think of this type of tutorial! 
What do you think of the bronze smokey eye? Do you wear it often or go for more of a black smokey eye?
x


Related Posts Plugin for WordPress, Blogger...